Table of Contents
Sampling Rate Considerations
The number of instructions available on the DSP per audio sample depends on the sampling frequency selected. For example, AD1940/1941 DSPs can perform:
- 1536 instructions per sample at 32 kHz
- 1536 instructions per sample at 44.1 kHz
- 1536 instructions per sample at 48 kHz
- 768 instructions per sample at 96 kHz
- 384 instructions per sample at 192 kHz
The sample rate should be set by the program-length bits in the core control register. SigmaStudio defaults to 44.1-kHz sampling, the CD red-book standard. If you want to use another rate, select it prior to your design from the New Item Sample Rate drop-down list in the top toolbar. Now any blocks added to your schematic will be set to that sampling rate.
You also can change the sampling rate mid-design by either setting the sample rate for all blocks in the design, or you can change the sample rate of each input individually.
In order to change the sample rate of a system, follow these steps:
Setting Software Sample Rate
Locate the sample rate section of the toolbar.
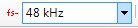
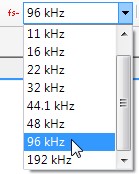
Click the drop-down box, and select a new sample rate.
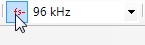
Click the “Set System Sample Rate” button to the left of the drop-down box.
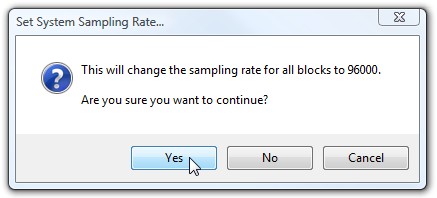
Click the Yes button to confirm the sample rate change.
Link-Compile-Download the project in order to calculate and download the new coefficients for time-dependent algorithms.

Setting Hardware Sample Rate
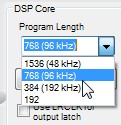
Locate the core frame rate register in the Register Control Window and set it to the new sample rate. The name and address of this register differs depending on which IC is being used. Here are a few examples:
AD194x:
ADAU144x:
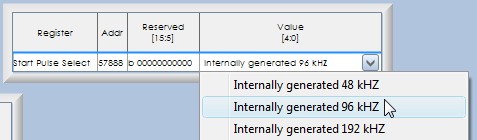
ADAU170x/ADAU1401:
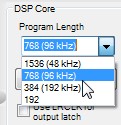
ADAU176x:
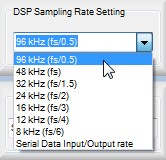
Setting "Non-Standard" Software Sample Rates
If you are using a non-standard sample rate by scaling the master clock in the system (for example, scaling the MCLK down from 12.288 MHz to 12 MHz, effectively bringing the sample rate down from 48 kHz to 46.875 kHz), you need to manually enter the sample rate.
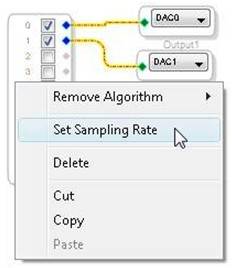
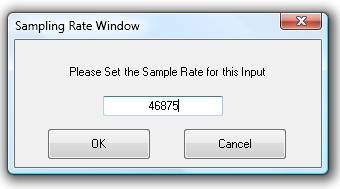
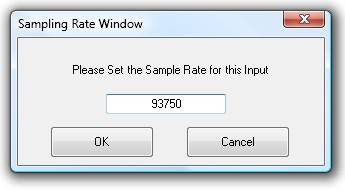
Right click the input cell, select set sample rate, and enter the sample rate manually in Hertz. You can type in any number.
Click propagate sample rate.
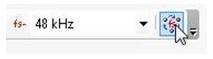
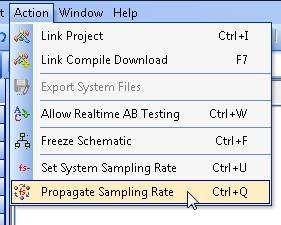
You can also do this from the Action menu, or with the keyboard shortcut Ctrl+Q.
In this case of a non-standard sample rate, you do not need to change the hardware register settings from their original settings, since the master clock frequency in the system is simply being scaled. You do, however, need to make sure that the new MCLK frequency is within the allowable range of frequencies for the input to the PLL. This can be verified by checking the timing specifications on the datasheet for the SigmaDSP in use.
You may use a “non-standard” or scaled sample rate in conjunction with a “double-rate” sample rate like 96 kHz, or a “half-rate” sample rate like 24 kHz, et cetera. Continuing the example from above, if I wanted to take a 96 kHz system with a 12.288 MHz master clock, but then scale the master clock down to 12 MHz, then the sample rate would become 96 kHz * (12 / 12.288) = 93.75 kHz. The steps to do this are as follows:
- Set the hardware registers to the fs * 2 (96 kHz) mode
- Manually enter 93750 Hz using “Set Sample Rate” on the input cell's right-click menu
- Propagate Sampling Rate